
This post contains paid and/or affiliate links. I make a small commission at no extra cost to you. Please see our Privacy Policy.
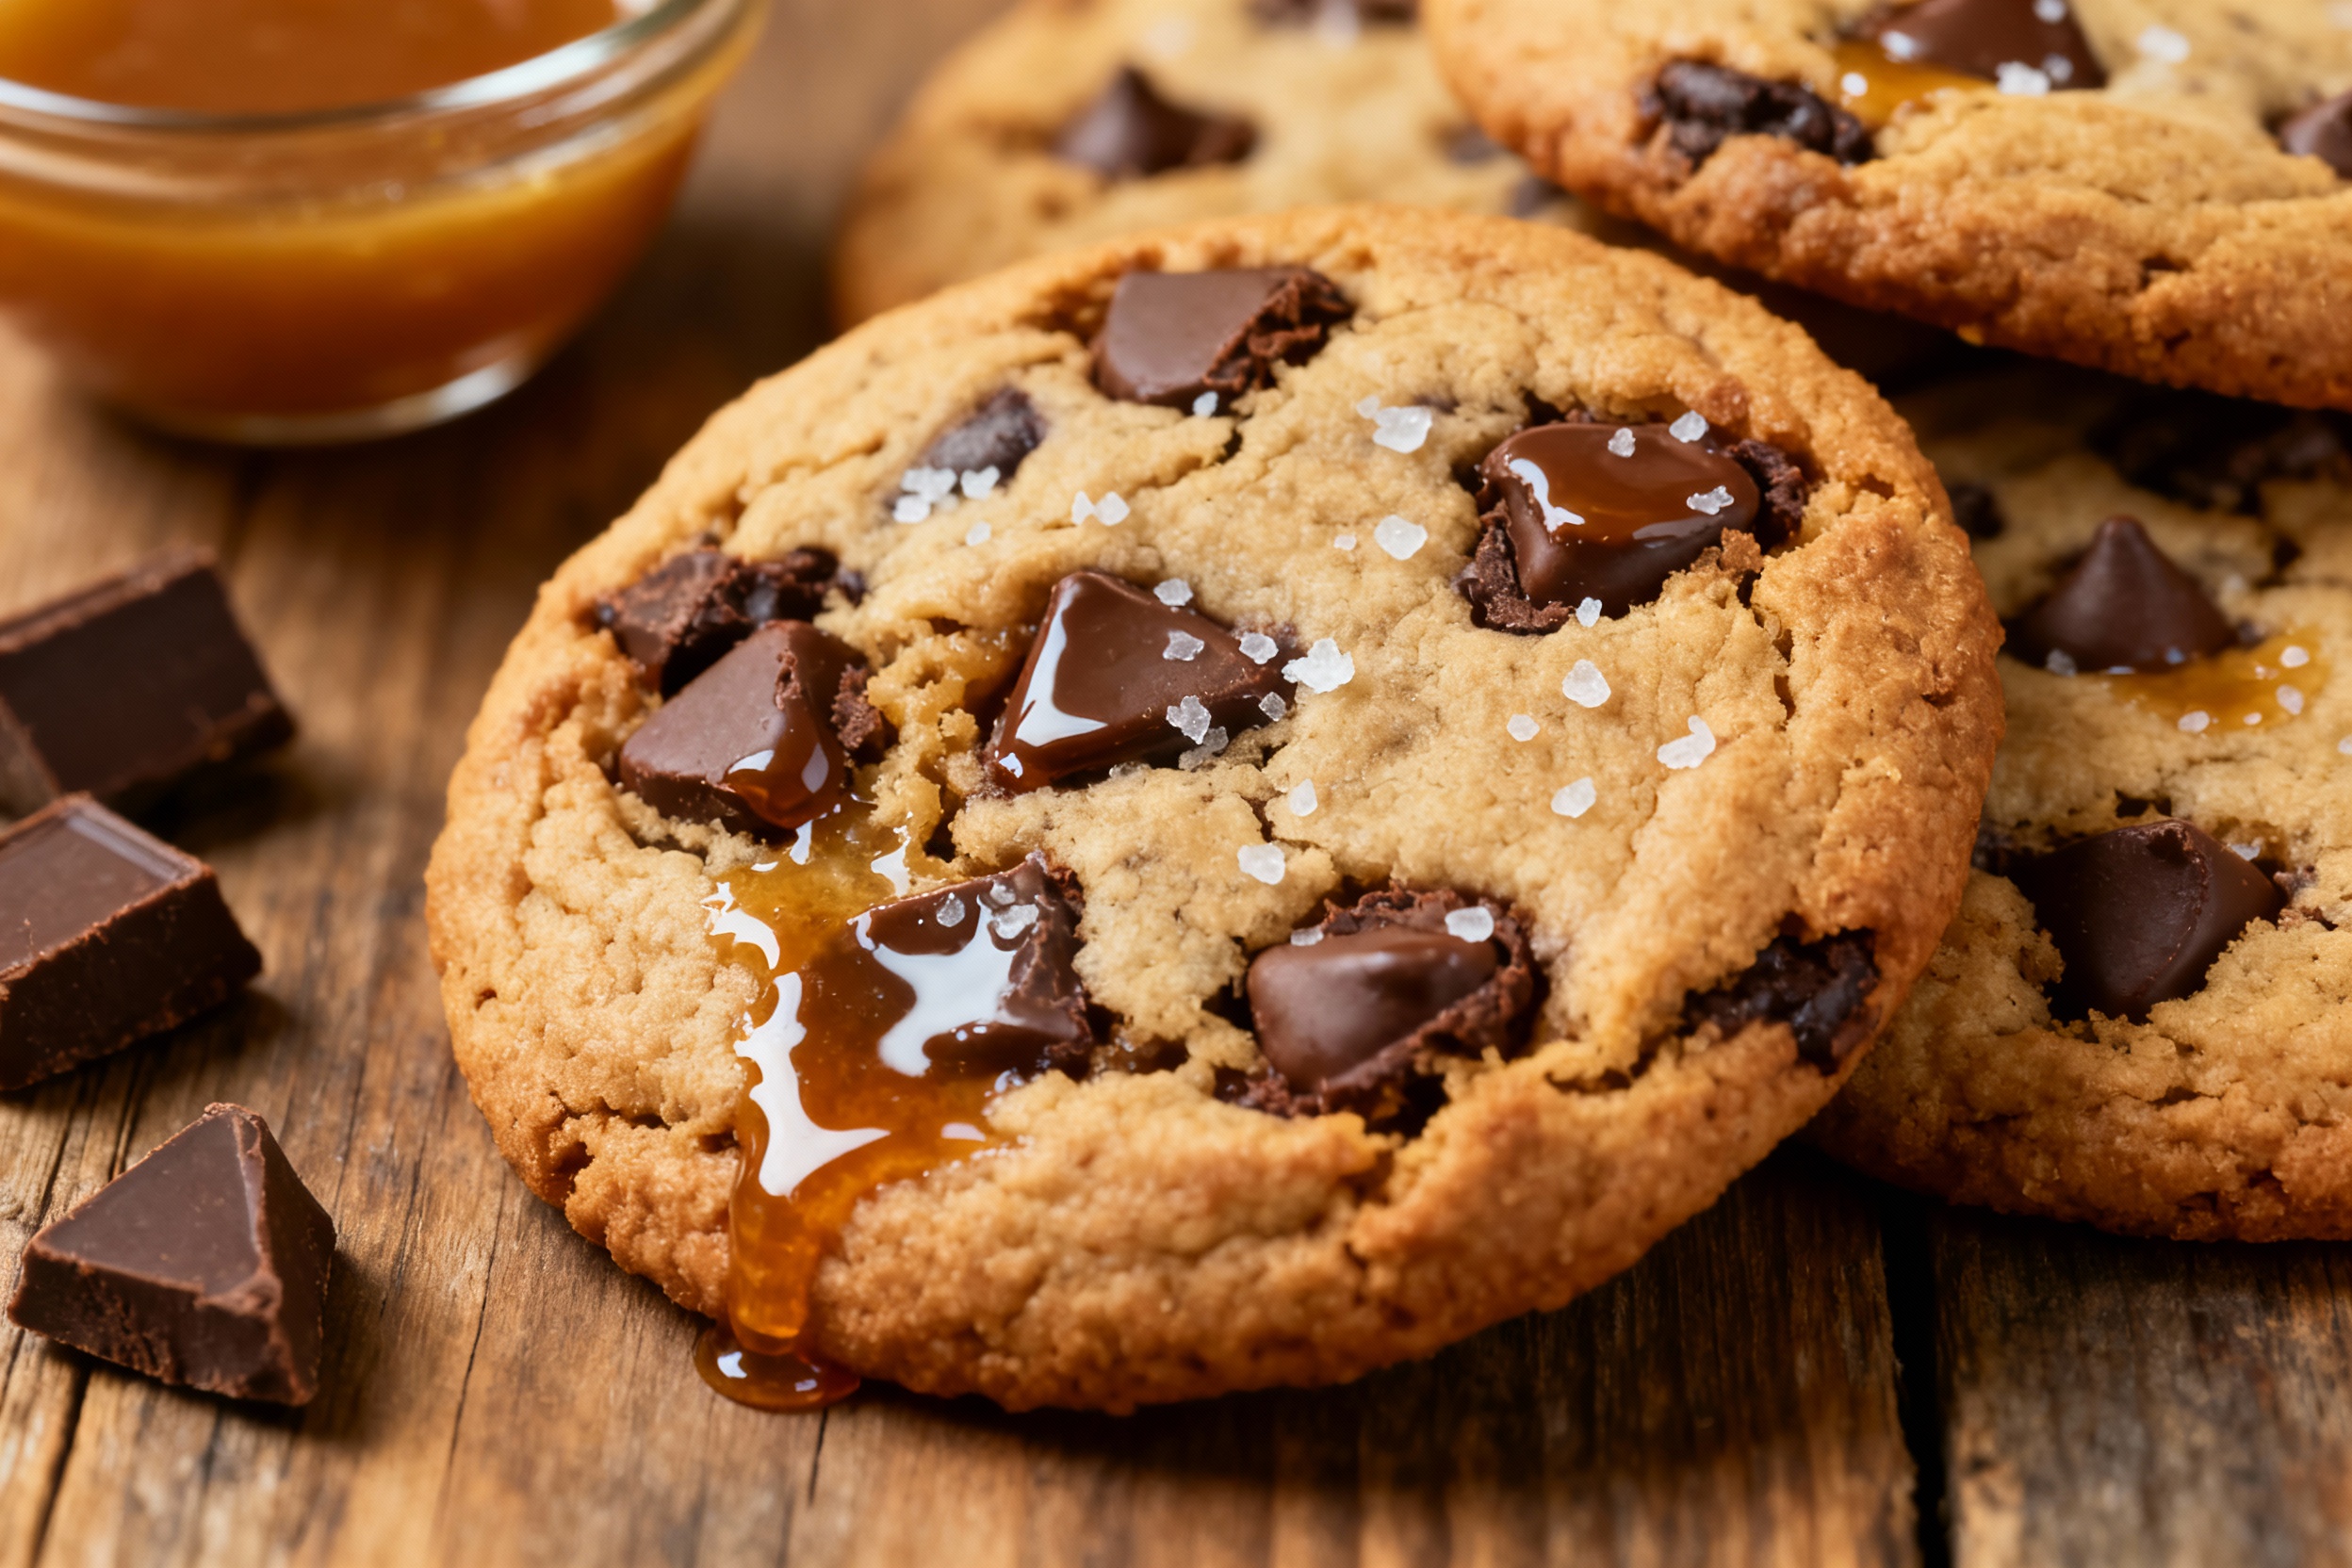
You know that feeling when you bite into a warm, chewy chocolate chip cookie—the edges are perfectly crisp, the center is gooey, and the chocolate chips are just slightly melted? That’s the kind of cookie magic we’re after today. But we’re not making just any chocolate chip cookie.
Nope. We’re taking things up a notch with one secret ingredient that completely transforms your cookie game: brown butter.
Brown butter adds this rich, nutty aroma that makes every bite taste extra special. It’s a small twist that turns a classic treat into something gourmet—without being complicated.
So grab your apron, preheat that oven, and let’s make the best Chewy Chocolate Chip Cookies with a Hint of Brown Butter you’ve ever tasted.
Why Brown Butter Makes All the Difference
Before we dive into the recipe, let’s talk about why this one ingredient changes everything.
When you brown butter, you’re basically cooking it until the milk solids turn golden brown. This creates a deep, toasty, caramel-like flavor that regular butter just can’t compete with.
It adds a subtle nuttiness that perfectly complements the sweetness of brown sugar and the richness of chocolate chips.
Think of it as giving your cookies a warm, cozy hug of flavor.
Ingredients You’ll Need
Here’s everything you’ll need to make about 24 cookies:
For the cookies:
- 1 cup (2 sticks) unsalted butter
- 1 cup brown sugar, packed
- ½ cup granulated sugar
- Need 2 large eggs, at room temperature
- 2 teaspoons pure vanilla extract
- 2 ¼ cups all-purpose flour
- 1 teaspoon baking soda
- ½ teaspoon baking powder
- ½ teaspoon salt
- 1 ½ cups semisweet chocolate chips (or mix of dark and milk for extra flavor)
- Optional: ½ cup chopped walnuts or pecans for crunch
Tip: Always measure flour properly! Spoon it into the measuring cup and level it off with a knife. Too much flour will make your cookies cakey instead of chewy.
Step-by-Step Directions
Step 1: Brown the Butter
- In a medium saucepan, melt the butter over medium heat.
- Once melted, continue cooking, stirring occasionally. You’ll notice it will foam and then start to turn golden brown with little brown bits forming at the bottom.
- The moment it smells nutty and aromatic (about 5–7 minutes), remove it from heat immediately.
- Pour the brown butter into a heatproof bowl and let it cool for about 15 minutes before using.
(Tip: Don’t walk away while browning butter—it can go from perfect to burnt in seconds!)
Step 2: Mix the Wet Ingredients
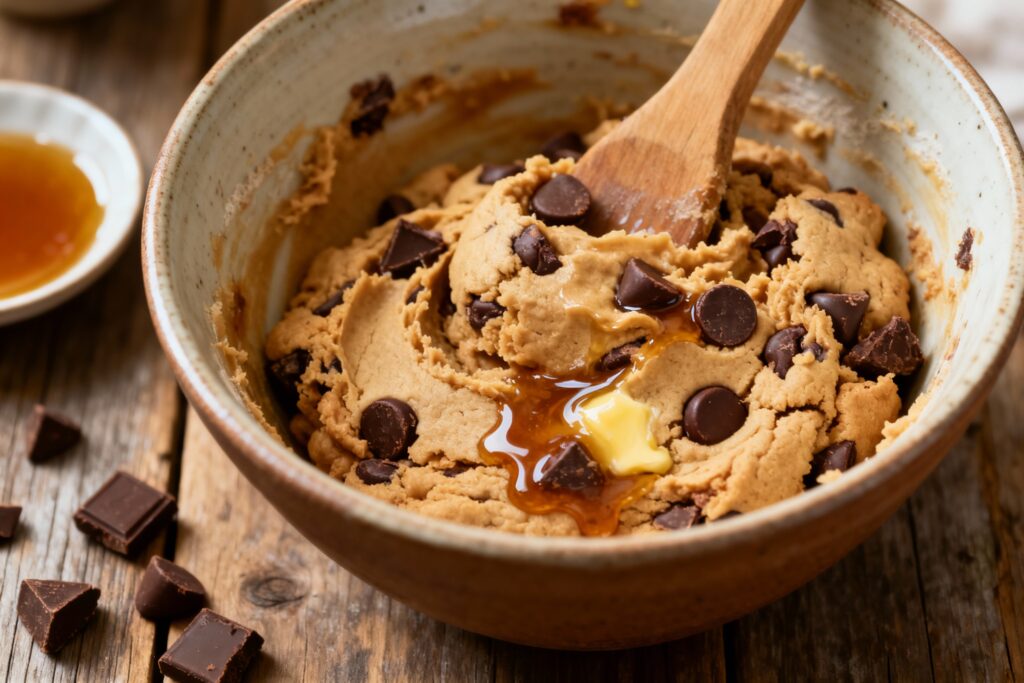
- In a large mixing bowl, whisk together the cooled brown butter, brown sugar, and granulated sugar until smooth and creamy.
- Add the eggs one at a time, whisking after each addition.
- Stir in the vanilla extract.
Your batter should now look glossy and rich—already smells amazing, right?
Step 3: Combine the Dry Ingredients
- In a separate bowl, whisk together flour, baking soda, baking powder, and salt.
- Gradually add the dry ingredients into the wet mixture, stirring with a spatula until just combined.
Don’t overmix—that’s the secret to keeping your cookies tender and chewy!
Step 4: Add the Chocolate Chips (and Nuts, if Using)
- Fold in the chocolate chips (and nuts if you’re feeling fancy).
- Make sure they’re evenly distributed, so every bite gets that chocolatey goodness.
Step 5: Chill the Dough
Pop your dough in the fridge for at least 30–45 minutes. This step is crucial because it helps the cookies maintain their chewy center and prevents them from spreading too much while baking.
If you have the patience, chill the dough for an hour—or even overnight. Trust me, it’s worth it.
Step 6: Bake to Perfection
- Preheat your oven to 350°F (175°C).
- Line a baking sheet with parchment paper.
- Scoop about 1 ½ tablespoons of dough per cookie (a cookie scoop works great for this).
- Place them about 2 inches apart.
- Bake for 10–12 minutes, or until the edges are golden brown and the centers look slightly underbaked.
(The magic happens after you take them out—those centers will firm up as they cool.)
Step 7: Cool and Enjoy
- Let the cookies rest on the baking sheet for about 5 minutes before transferring them to a cooling rack.
- Pour yourself a glass of milk, take a bite, and prepare for cookie heaven.
Pro Tips for the Best Chewy Cookies
- Use more brown sugar than white sugar.
Brown sugar adds moisture and depth, creating that chewy texture we all crave. - Don’t skip chilling the dough.
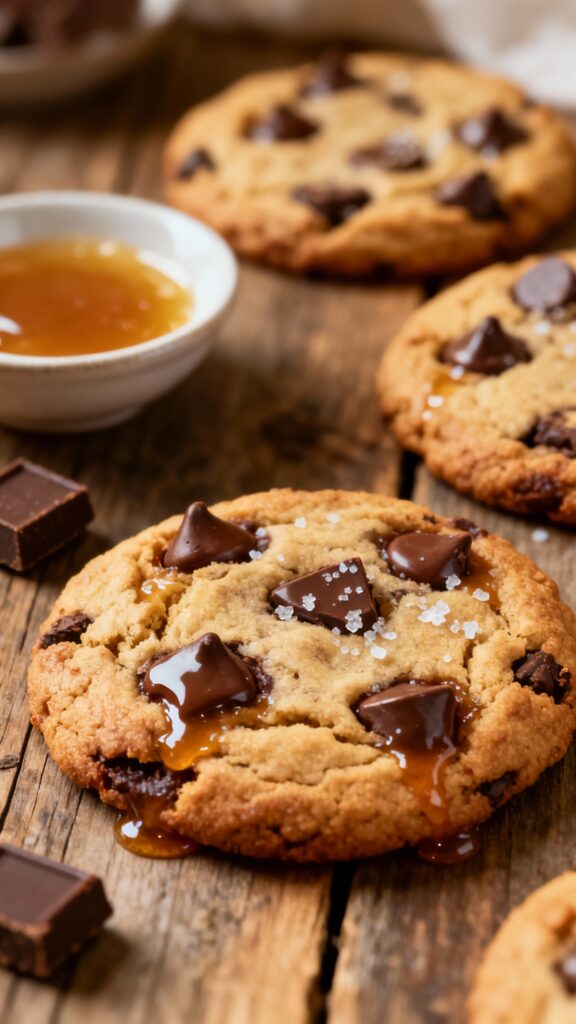
Cold dough spreads less and results in thicker, chewier cookies. - Add a sprinkle of sea salt on top before baking.
The salty-sweet combo enhances the flavor and makes each bite irresistible. - Use quality chocolate.
If you can, use chopped chocolate bars instead of chips. You’ll get melty pockets of chocolate instead of uniform chips. - Underbake slightly.
Pull them out when they still look a little soft in the center. They’ll continue to cook on the tray.
Variations to Try
Once you master the base recipe, get creative!
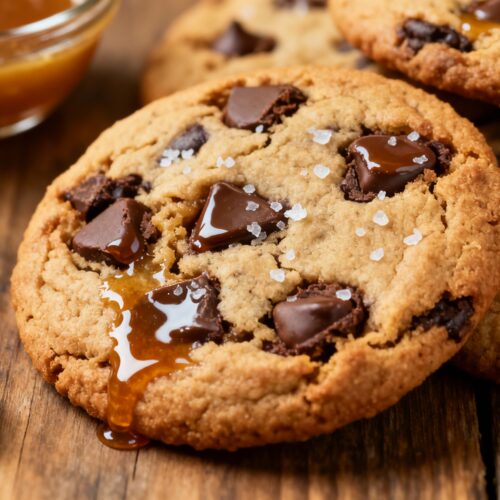
- Salted Caramel Chips: Swap some of the chocolate chips for caramel bits.
- Peanut Butter Swirl: Add 2 tablespoons of peanut butter to the dough before baking.
- Espresso Kick: Mix in 1 teaspoon of instant espresso powder for a mocha twist.
- Toffee Crunch: Add toffee bits or crushed pretzels for extra crunch.
Each version brings its own personality to the classic chewy cookie—but the brown butter always shines through.
Chocolate Chip Cookies with a Hint of Brown Butter
Ingredients
- 1 cup 2 sticks unsalted butter
- 1 cup brown sugar packed
- ½ cup granulated sugar
- 2 large eggs at room temperature
- 2 teaspoons pure vanilla extract
- 2 ¼ cups all-purpose flour
- 1 teaspoon baking soda
- ½ teaspoon baking powder
- ½ teaspoon salt
- 1 ½ cups semisweet chocolate chips or mix of dark and milk for extra flavor
- Optional: ½ cup chopped walnuts or pecans for crunch
Instructions
Step 1: Brown the Butter
- 1. In a medium saucepan, melt the butter over medium heat.2. Once melted, continue cooking, stirring occasionally. You’ll notice it will foam and then start to turn golden brown with little brown bits forming at the bottom.3. The moment it smells nutty and aromatic (about 5–7 minutes), remove it from the heat immediately.4. Pour the brown butter into a heatproof bowl and let it cool for about 15 minutes before using.(Tip: Don’t walk away while browning butter—it can go from perfect to burnt in seconds!)
Step 2: Mix the Wet Ingredients
- 1. In a large mixing bowl, whisk together the cooled brown butter, brown sugar, and granulated sugar until smooth and creamy.2. Add the eggs one at a time, whisking after each addition.3. Stir in the vanilla extract.Your batter should now look glossy and rich—already smells amazing, right?
Step 3: Combine the Dry Ingredients
- 1. In a separate bowl, whisk together flour, baking soda, baking powder, and salt.2. Gradually add the dry ingredients into the wet mixture, stirring with a spatula until just combined.Don’t overmix—that’s the secret to keeping your cookies tender and chewy!
Step 4: Add the Chocolate Chips (and Nuts, if Using)
- 1. Fold in the chocolate chips (and nuts if you’re feeling fancy).2. Make sure they’re evenly distributed, so every bite gets that chocolatey goodness.
Step 5: Chill the Dough
- Pop your dough in the fridge for at least 30–45 minutes. This step is crucial because it helps the cookies maintain their chewy center and prevents them from spreading too much while baking.If you have the patience, chill the dough for an hour—or even overnight. Trust me, it’s worth it.
Step 6: Bake to Perfection
- 1. Preheat your oven to 350°F (175°C).2. Line a baking sheet with parchment paper.3. Scoop about 1 ½ tablespoons of dough per cookie (a cookie scoop works great for this).4. Place them about 2 inches apart.5. Bake for 10–12 minutes, or until the edges are golden brown and the centers look slightly underbaked.(The magic happens after you take them out—those centers will firm up as they cool.)
Step 7: Cool and Enjoy
- 1. Let the cookies rest on the baking sheet for about 5 minutes before transferring them to a cooling rack.2. Pour yourself a glass of milk, take a bite, and prepare for cookie heaven.
Notes
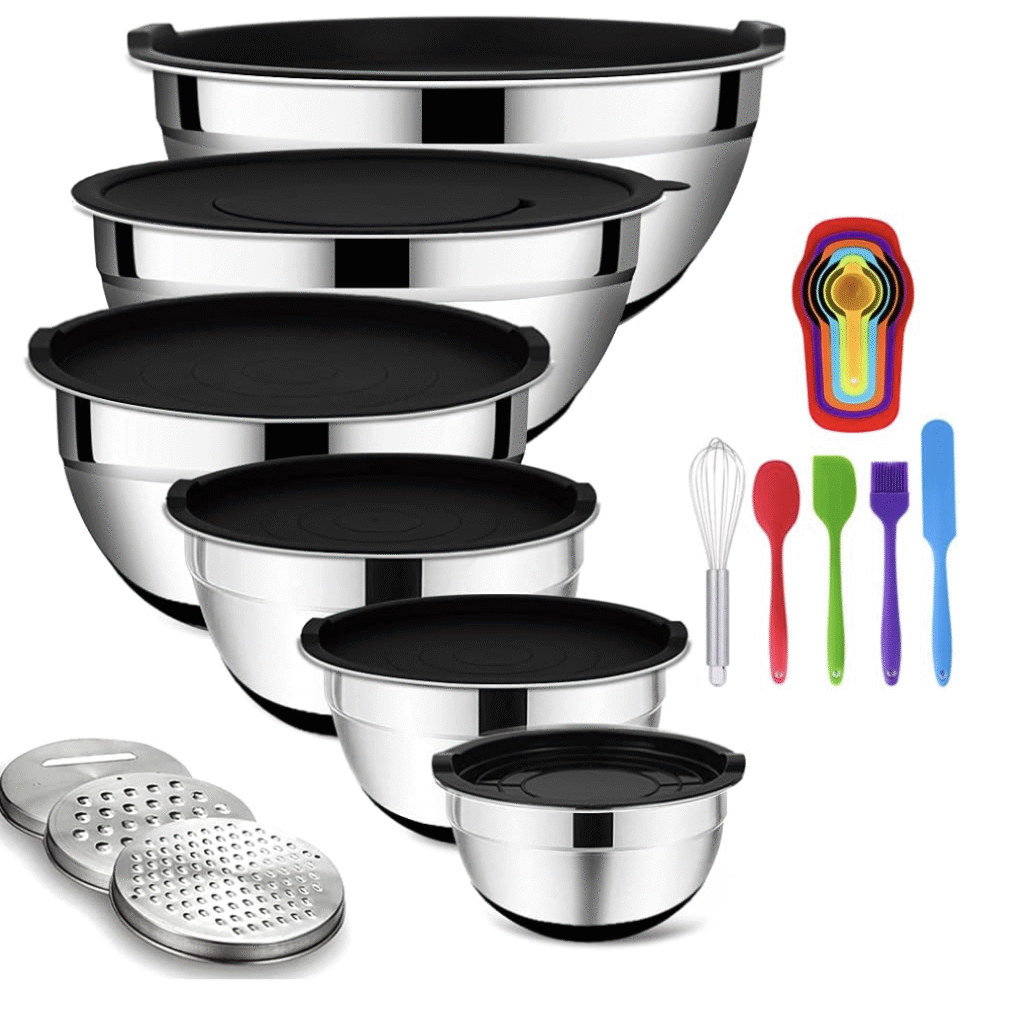
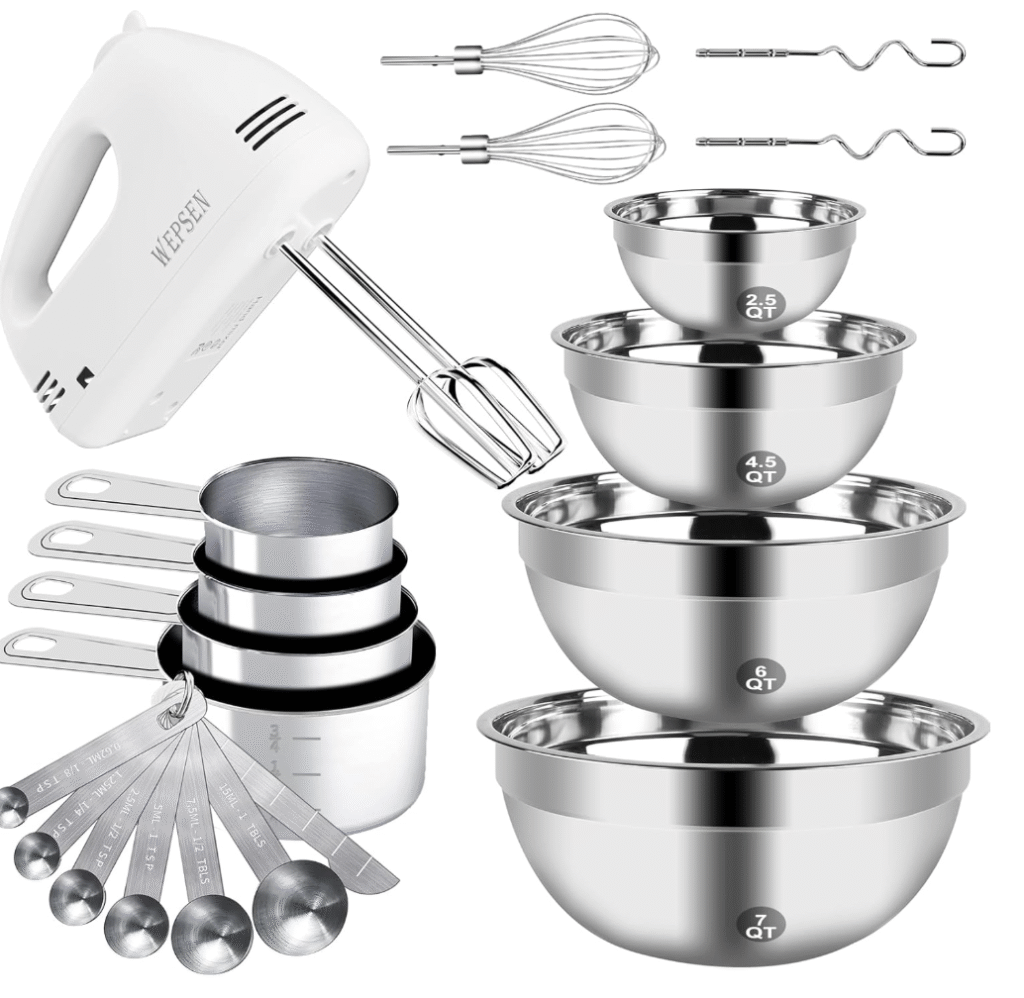
Baking & Mixing Equipment
- Mixing Bowls (Large and Medium) – for combining dry and wet ingredients.
- Measuring Cups & Spoons – for accurate ingredient measurements.
- Whisk – for mixing dry ingredients like flour and baking soda.
- Hand Mixer or Stand Mixer (optional) – makes creaming butter and sugar easier.
- Spatula or Wooden Spoon – for folding in chocolate chips and scraping the bowl.
- Baking Sheet (Cookie Sheet) – to bake the cookies evenly.
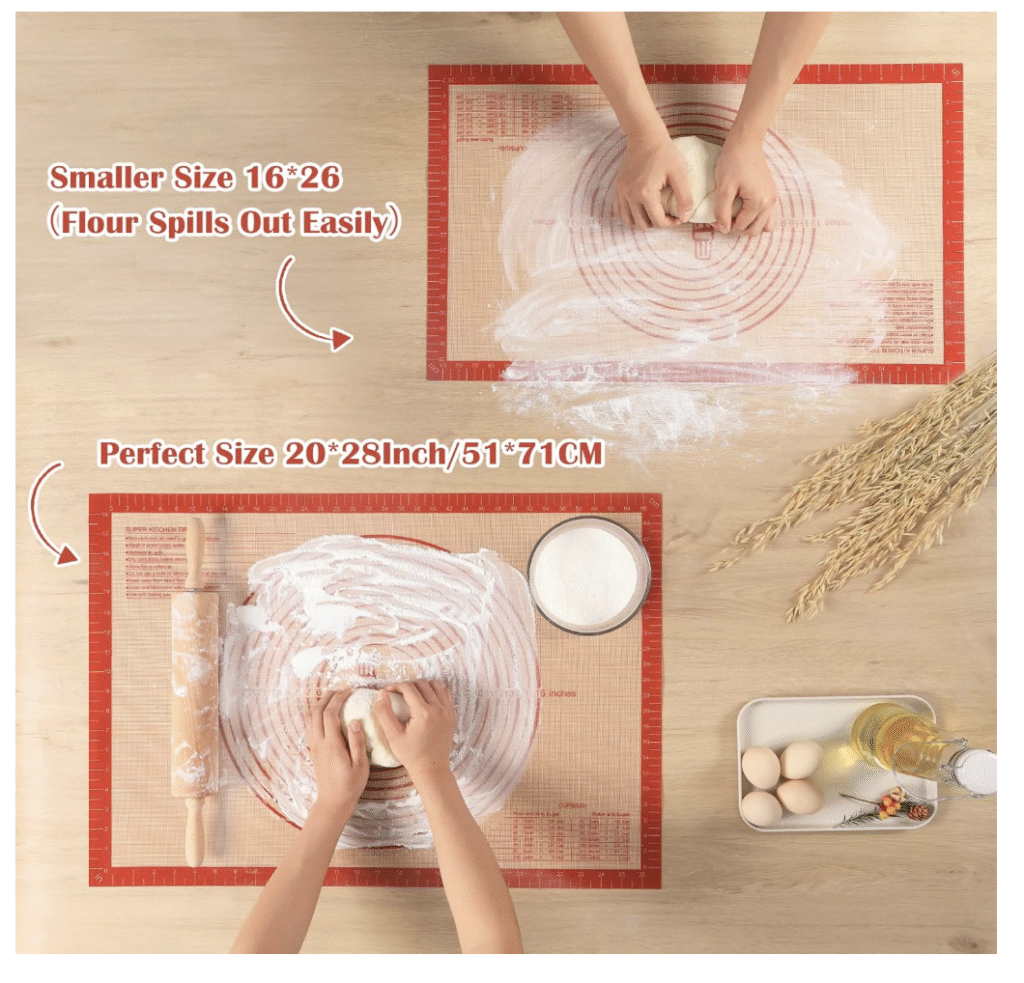
- Parchment Paper or Silicone Baking Mat – prevents sticking and ensures easy cleanup.
- Cookie Scoop or Tablespoon – to portion out uniform cookie dough balls.
- Cooling Rack – to cool cookies evenly after baking.
Storing and Freezing Tips
If you manage to resist eating them all (good luck!), here’s how to keep them fresh:
- Room Temperature: Store in an airtight container for up to 4–5 days.
- Refrigerate the Dough: Store dough in the fridge for up to 3 days.
- Freeze the Dough: Roll into balls, freeze on a tray, then transfer to a freezer bag. Bake straight from frozen—just add 1–2 minutes to your baking time.
This makes it super easy to have warm, fresh cookies anytime you crave one!
Let’s Talk Texture: What Makes These Cookies Chewy
The perfect chewy cookie isn’t just luck—it’s science.
- Brown Sugar + Brown Butter: Together, they create extra moisture and caramel-like notes.
- Eggs: The proteins in eggs help give the cookie its structure while keeping it soft.
- Baking Time: A shorter bake keeps the middle tender while allowing the edges to crisp.
It’s all about balance—crispy edges, soft middle, rich buttery flavor. That’s the trifecta of cookie perfection.
Serving Suggestions
These cookies are perfect on their own, but if you want to get a little extra:
- Warm them up and serve with vanilla ice cream for a quick dessert.
- Drizzle with melted chocolate and a pinch of flaky salt.
- Stack and tie with a ribbon for a cute homemade gift idea.
They’re also the perfect addition to lunchboxes, bake sales, or cozy weekend baking sessions.
Presentation Tip for Food Bloggers or Pinterest Bakers
If you’re planning to post these cookies online (and trust me, they’ll look amazing), here are some photo tips:
- Stack a few cookies and break one open to show off the gooey chocolate chips.
- Add a glass of milk or a rustic wooden board for a cozy vibe.
- Sprinkle a few chocolate chips around the cookies for that “fresh out of the oven” look.
Perfect for Pinterest, Instagram, or your recipe blog!
Final Thoughts: A Cookie Worth Sharing
These Chewy Chocolate Chip Cookies with a Hint of Brown Butter are more than just dessert—they’re a little piece of comfort. Whether you’re baking for family, friends, or just yourself (no judgment here), this recipe is guaranteed to become your new favorite.
The combination of brown butter, brown sugar, and melted chocolate creates a symphony of flavor that’s warm, rich, and perfectly chewy. They’re the kind of cookies that make people stop mid-bite and say, “Whoa, what’s in these?”
So go ahead, preheat that oven, and treat yourself. Because sometimes, the best kind of therapy comes fresh from the oven.
FAQ – Chocolate Chip Cookies
1. What makes brown butter different from regular butter in cookies?
Brown butter adds a rich, nutty, caramel-like flavor that enhances the overall taste of your cookies. When you heat butter until it turns golden brown, the milk solids toast slightly, creating a deeper flavor profile that regular melted butter can’t achieve. It’s a simple upgrade that makes your cookies taste gourmet.
2. How do I know when my brown butter is ready?
You’ll know it’s ready when the butter turns a golden amber color and gives off a nutty aroma. You’ll also see small brown bits forming at the bottom of the pan—those are toasted milk solids. Be careful not to burn it! Once it reaches that point, remove it from the heat immediately and let it cool before adding it to your cookie dough.
3. Why do I need to chill the cookie dough before baking?
Chilling the dough helps control how much the cookies spread while baking. Cold dough allows the butter to firm up, so your cookies bake thicker and chewier instead of thin and crispy. It also helps the flavors develop for a richer taste.
4. Can I freeze the cookie dough or baked cookies?
Absolutely! You can freeze cookie dough balls on a baking tray, then store them in a freezer-safe bag for up to 3 months. When you’re ready to bake, pop them straight into the oven—no need to thaw. For baked cookies, let them cool completely before freezing in an airtight container.
5. How can I make my cookies extra soft and chewy?
To keep your cookies irresistibly soft, use more brown sugar than white sugar (brown sugar adds moisture), slightly underbake them, and let them cool on the baking sheet for a few minutes before transferring them. That balance of brown sugar, brown butter, and a shorter bake time ensures the perfect chewy texture every time.
This post contains paid and/or affiliate links. I make a small commission at no extra cost to you. Please see our Privacy Policy.
Printable Recipe Card
Want just the essential recipe details without scrolling through the article? Get our printable recipe card with just the ingredients and instructions.