This post contains paid and/or affiliate links. I make a small commission at no extra cost to you. Please see our Privacy Policy.
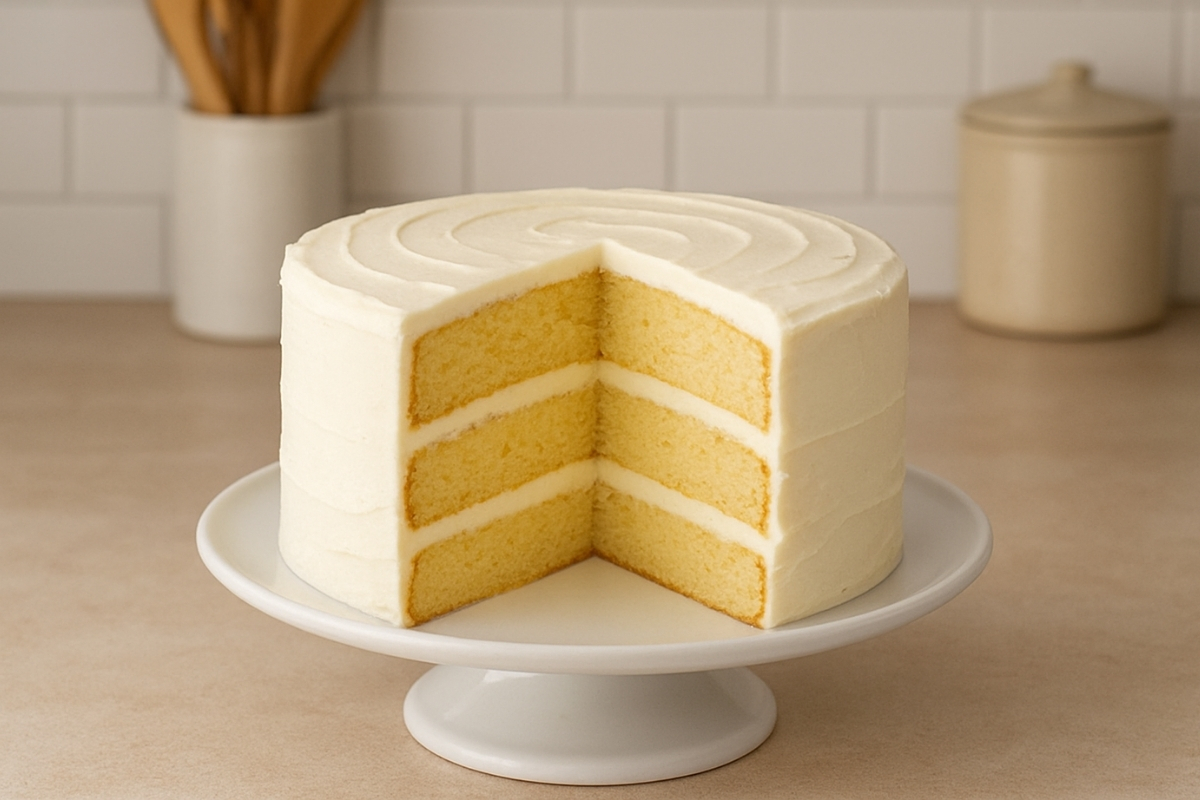
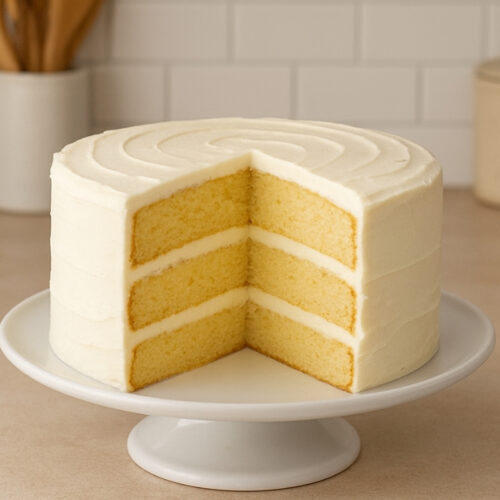
Ah, the classic vanilla layer cake—just saying the words is enough to make you imagine birthdays, Sunday dinners, and those golden, nostalgic slices paired with a glass of milk or a steaming cup of coffee.
There’s something timeless about a cake that’s simple, light, fluffy, and absolutely delicious without being fussy. While chocolate often steals the spotlight, vanilla has its own quiet elegance—it’s the blank canvas that lets everything else shine.
I’ll walk you through everything you need to know to create your very own homemade vanilla layer cake. We’ll cover the background of this cake, why it’s a baking must-know, tips for perfecting your technique, and of course, the step-by-step recipe directions you can follow to bake it yourself.
Think of this as a friendly chat in your kitchen while we both tie on aprons.
Why Vanilla Layer Cake Never Goes Out of Style
Let’s be honest: vanilla sometimes gets unfairly labeled as “plain.” But if you’ve ever had a real, freshly baked vanilla cake made with good ingredients, you know that’s far from true.
A classic vanilla layer cake is:
- Versatile: Dress it up with buttercream, cream cheese frosting, or even fresh fruit and whipped cream.
- Crowd-pleasing: Not everyone loves chocolate, but vanilla usually gets universal nods of approval.
- Timeless: Whether it’s a wedding, birthday, or just a “because I felt like baking” kind of day, this cake fits right in.
Baking a good vanilla cake is a bit like mastering scrambled eggs—it’s simple at first glance, but doing it really wellrequires a touch of technique. The payoff, though, is worth it: tender crumbs, a delicate sweetness, and that heavenly vanilla aroma wafting through your kitchen.
Ingredients You’ll Need
Here’s the lineup for a traditional vanilla layer cake. These are pantry staples, but the magic is in how they come together.
For the Cake:
- 2 ½ cups all-purpose flour (spooned and leveled)
- 2 ½ tsp baking powder
- ½ tsp salt
- ¾ cup unsalted butter, softened
- 2 cups granulated sugar
- 4 large eggs, room temperature
- 1 tbsp pure vanilla extract (don’t skimp on quality here!)
- 1 cup whole milk, room temperature
For the Frosting (classic vanilla buttercream):
- 1 cup unsalted butter, softened
- 4 cups powdered sugar, sifted
- 2–3 tbsp heavy cream (or milk)
- 2 tsp pure vanilla extract
- Pinch of salt
Step-by-Step Directions
Alright, apron on? Let’s do this together.
1. Preheat and Prep
Preheat your oven to 350°F (175°C). Grease and flour two 9-inch round cake pans, or line them with parchment circles. Trust me, parchment is your best friend—it makes removing cakes so much easier.
2. Mix the Dry Ingredients
In a medium bowl, whisk together the flour, baking powder, and salt. This keeps your cake light and ensures the leavening agents are evenly distributed.
3. Cream the Butter and Sugar
In a large bowl, using an electric mixer, beat the softened butter and granulated sugar together until light and fluffy(about 3–4 minutes). This step is crucial—it incorporates air, which helps give your cake that perfect soft crumb.
4. Add the Eggs and Vanilla
Beat in the eggs one at a time, mixing well after each addition. Then stir in the vanilla extract. Your kitchen will already start smelling amazing.
5. Combine Wet and Dry
Now alternate adding the dry ingredients and the milk to the butter mixture, starting and ending with the dry. Mix on low speed until just combined. Don’t overmix—overworked batter equals dense cake.
6. Bake
Divide the batter evenly between the prepared pans. Smooth the tops with a spatula, then bake for 25–30 minutes, or until a toothpick inserted in the center comes out clean.
7. Cool Completely
Let the cakes cool in the pans for 10 minutes, then turn them out onto wire racks. Allow them to cool completely before frosting. Rushing this step is a recipe for melted buttercream, so be patient!
8. Make the Buttercream
Beat the butter until creamy, then slowly add powdered sugar. Add vanilla, salt, and just enough cream or milk until you get a smooth, spreadable consistency.
9. Assemble the Cake
Place one cake layer on your serving plate, spread a generous layer of buttercream on top, then sandwich with the second layer. Frost the top and sides. You can keep it rustic with swirls or go for sleek, smooth edges.
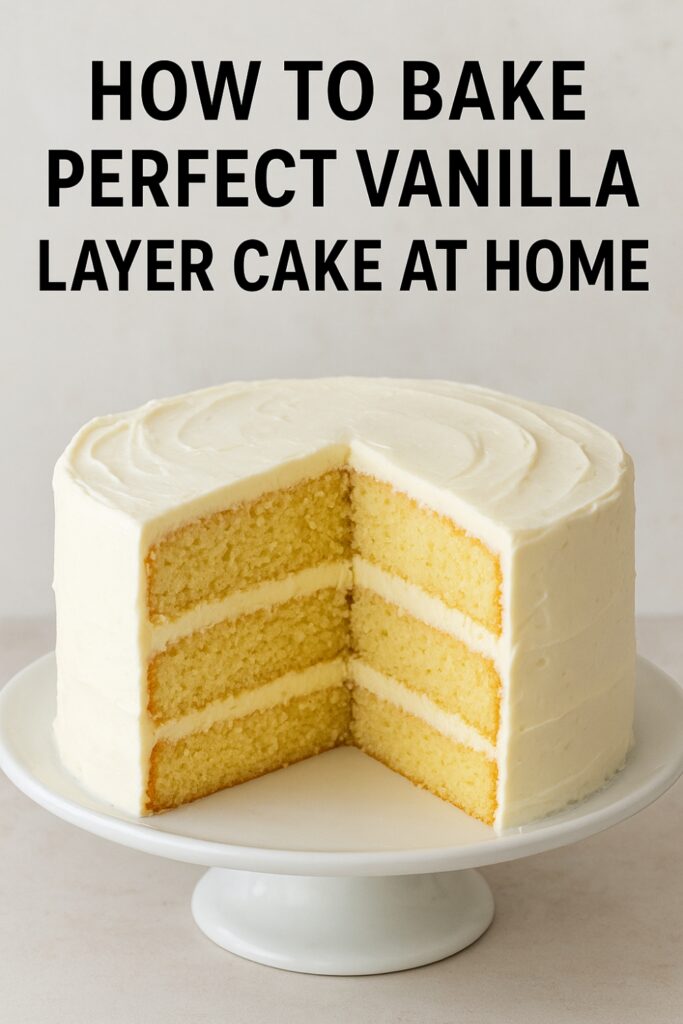
How To Bake Perfect Vanilla Layer Cake At Home
Ingredients
For the Cake:
- 2 ½ cups all-purpose flour spooned and leveled
- 2 ½ tsp baking powder
- ½ tsp salt
- ¾ cup unsalted butter softened
- 2 cups granulated sugar
- 4 large eggs room temperature
- 1 tbsp pure vanilla extract don’t skimp on quality here!
- 1 cup whole milk room temperature
For the Frosting (classic vanilla buttercream):
- 1 cup unsalted butter softened
- 4 cups powdered sugar sifted
- 2 –3 tbsp heavy cream or milk
- 2 tsp pure vanilla extract
- Pinch of salt
Instructions
Step-by-Step Directions
Alright, apron on? Let’s do this together.
Preheat and Prep
- Preheat your oven to 350°F (175°C). Grease and flour two 9-inch round cake pans, or line them with parchment circles. Trust me, parchment is your best friend—it makes removing cakes so much easier.
Mix the Dry Ingredients
- In a medium bowl, whisk together the flour, baking powder, and salt. This keeps your cake light and ensures the leavening agents are evenly distributed.
Cream the Butter and Sugar
- In a large bowl, using an electric mixer, beat the softened butter and granulated sugar together until light and fluffy (about 3–4 minutes). This step is crucial—it incorporates air, which helps give your cake that perfect soft crumb.
Add the Eggs and Vanilla
- Beat in the eggs one at a time, mixing well after each addition. Then stir in the vanilla extract. Your kitchen will already start smelling amazing.
Combine Wet and Dry
- Now alternate adding the dry ingredients and the milk to the butter mixture, starting and ending with the dry. Mix on low speed until just combined. Don’t overmix—overworked batter equals dense cake.
Bake
- Divide the batter evenly between the prepared pans. Smooth the tops with a spatula, then bake for 25–30 minutes, or until a toothpick inserted in the center comes out clean.
Cool Completely
- Let the cakes cool in the pans for 10 minutes, then turn them out onto wire racks. Allow them to cool completely before frosting. Rushing this step is a recipe for melted buttercream, so be patient!
Make the Buttercream
- Beat the butter until creamy, then slowly add powdered sugar. Add vanilla, salt, and just enough cream or milk until you get a smooth, spreadable consistency.
Assemble the Cake
- Place one cake layer on your serving plate, spread a generous layer of buttercream on top, then sandwich with the second layer. Frost the top and sides. You can keep it rustic with swirls or go for sleek, smooth edges.
Notes
🍰 Nutrition (Per Slice, based on 12 servings)
- Calories: ~420 kcal
- Carbohydrates: 55 g
- Protein: 4 g
- Fat: 20 g
- Sugar: 38 g
Tips for Vanilla Cake Success
Now, let’s talk about a few baking secrets that can make or break your vanilla layer cake:
- Room Temperature Ingredients: Cold butter, eggs, and milk don’t blend as well. Room temperature ingredients ensure everything emulsifies properly.
- Don’t Overmix: Overmixing = tough cake. Stir until just combined.
- Quality Vanilla: A good vanilla extract (or even vanilla bean paste) elevates the flavor. I promise you’ll taste the difference.
- Level the Cakes: If your cake domes on top, use a serrated knife to level it before stacking. This makes frosting so much easier.
- Frosting Hack: Crumb coat your cake first (a thin layer of frosting to trap crumbs), chill for 20 minutes, then finish with your final coat.
Variations to Try
The beauty of a classic vanilla layer cake is how adaptable it is. Once you master the base recipe, you can customize it endlessly:
- Lemon Vanilla Cake: Add 1 tbsp lemon zest to the batter.
- Funfetti Cake: Stir in ½ cup rainbow sprinkles before baking.
- Strawberries & Cream: Layer fresh sliced strawberries and whipped cream between the cakes.
- Almond Twist: Replace half the vanilla extract with almond extract for a nutty note.
Frequently Asked Questions
Can I make this cake ahead of time?
Absolutely! Bake the layers, wrap tightly in plastic wrap, and freeze for up to 2 months. Frost just before serving.
What if I only have salted butter?
Use it—just skip the added salt in the recipe.
How do I store leftovers?
Keep your frosted cake in an airtight container at room temperature for up to 3 days. If your kitchen runs hot, refrigerate it instead.
Can I use this recipe for cupcakes?
Yes! This recipe makes about 24 cupcakes. Bake for 18–20 minutes.
Why This Recipe Works
This cake works because it sticks to the fundamentals of great baking: balanced proportions, proper mixing techniques, and high-quality ingredients.
The butter and sugar create a fluffy base, the eggs provide structure, and the milk adds moisture. Meanwhile, the vanilla is the star, giving you that sweet, fragrant aroma that makes vanilla cake a universal favorite.
Wrapping It Up
So there you have it—your very own classic vanilla layer cake recipe that’s perfect for birthdays, celebrations, or just because you want to bake something beautiful.
The best part about this cake isn’t just how delicious it tastes, but how much joy comes with the process. From the moment you cream the butter and sugar to the final swipe of frosting, this cake is a labor of love—and one worth sharing.
Bake it once, and I guarantee you’ll keep coming back to this recipe again and again. It’s the kind of cake that becomes a family tradition, the one people ask for by name.
So go on, grab that whisk, and let’s make your kitchen smell like vanilla heaven.
This post contains paid and/or affiliate links. I make a small commission at no extra cost to you. Please see our Privacy Policy.
Printable Recipe Card
Want just the essential recipe details without scrolling through the article? Get our printable recipe card with just the ingredients and instructions.