This post contains paid and/or affiliate links. I make a small commission at no extra cost to you. Please see our Privacy Policy.
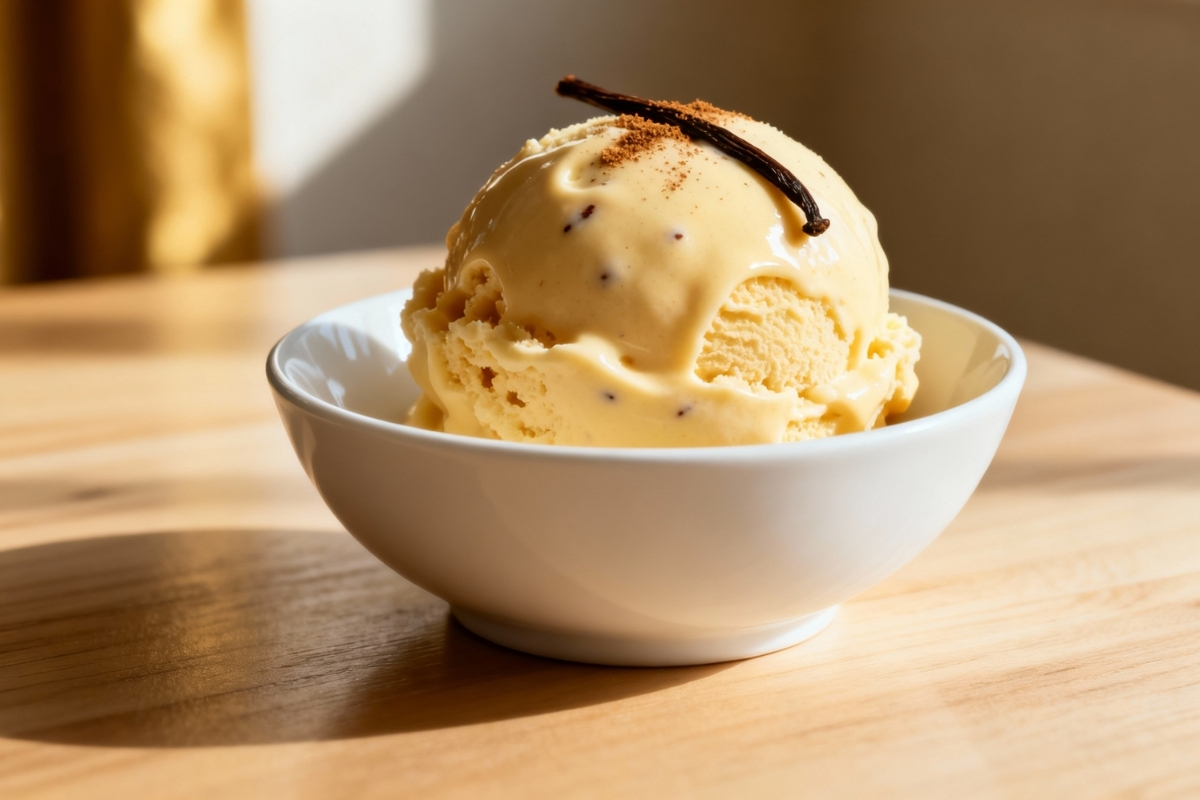
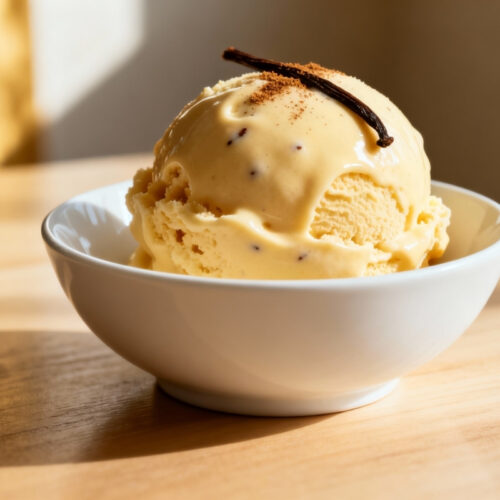
If eggnog is the official drink of the holidays, then eggnog ice cream is the dessert that steals the show. It’s rich, creamy, gently spiced with nutmeg and cinnamon, and has that nostalgic custard flavor we all love this time of year. The best part? It tastes way more complicated than it actually is.
This recipe is designed to feel like we’re cooking together—no stiff, robotic instructions here. Just real kitchen talk, helpful tips, and a smooth path to one of the creamiest ice creams you’ll ever make at home.
And yes, this version is made from scratch, no shortcuts, no artificial flavors—just real ingredients and pure comfort.
Kitchen Tools You’ll Need
Before we dive in, let’s do a quick kitchen check so you’re not scrambling midway through:
- Medium saucepan
- Whisk
- 2 mixing bowls
- Fine-mesh strainer
- Rubber spatula
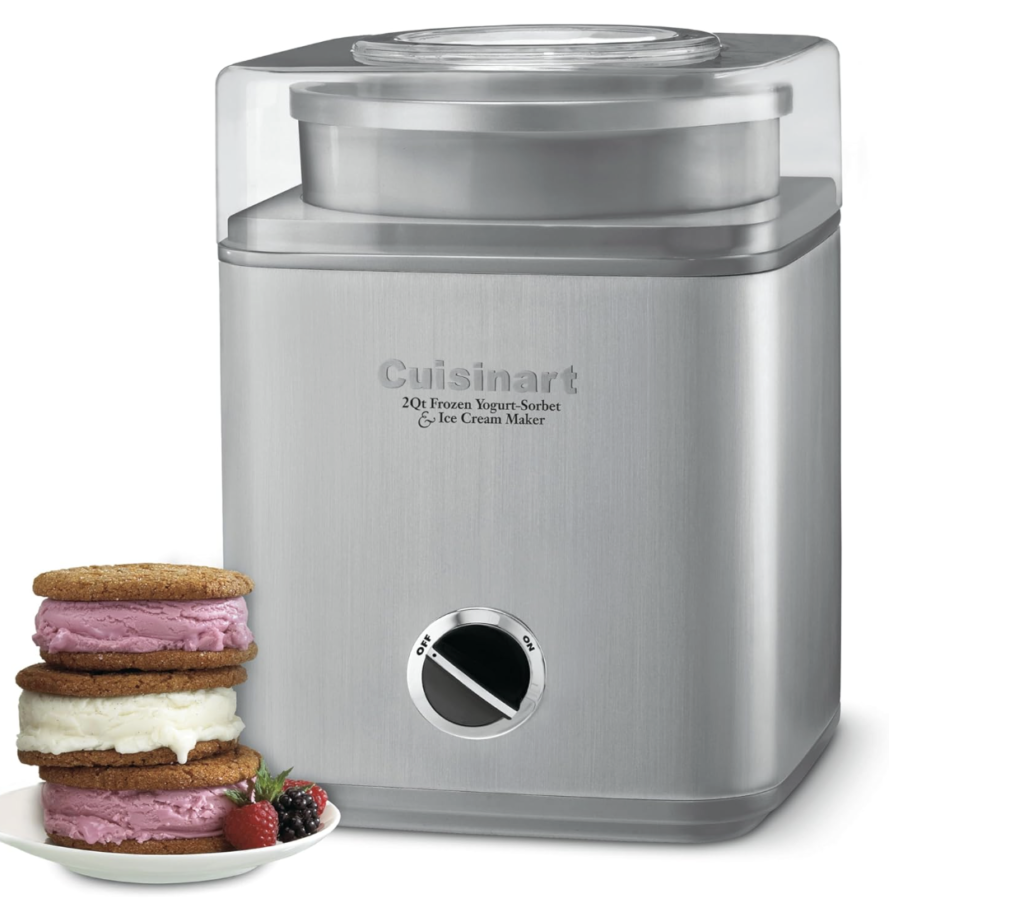
- Ice cream maker
- Airtight freezer-safe container
- Measuring cups & spoons
Nothing fancy, just solid kitchen basics.
Direction (Recipe Overview)
This eggnog ice cream is made using a classic custard-style base. You’ll gently heat cream, milk, spices, and sugar, temper in egg yolks, cook the mixture until thickened, then chill it thoroughly before churning.
The result is an ultra-smooth, scoopable, holiday-worthy frozen dessert that tastes just like sipping eggnog by the fire—only colder and creamier.
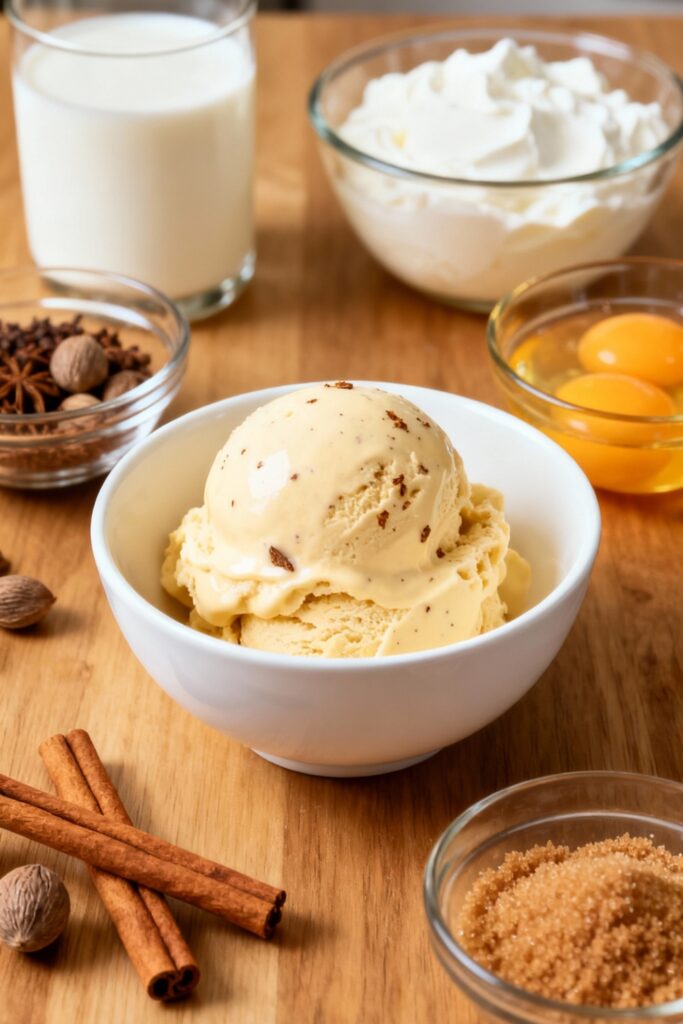
Ingredients
Here’s what you’ll need to bring this dreamy eggnog ice cream to life:
- 2 cups heavy cream
- 1 cup whole milk
- ¾ cup granulated sugar
- 5 large egg yolks
- 1 teaspoon vanilla extract
- 1½ teaspoons ground nutmeg
- ½ teaspoon ground cinnamon
- ¼ teaspoon salt
- 1–2 tablespoons dark rum or bourbon (optional, but traditional and delicious)
Step-by-Step Instructions
1. Heat the Cream Base
In a medium saucepan over medium heat, combine the heavy cream, milk, half the sugar, nutmeg, cinnamon, and salt. Stir gently and heat until the mixture is steaming but not boiling. You want it hot—not angry.
2. Whisk the Egg Yolks
While that’s warming up, whisk the egg yolks and remaining sugar in a bowl until pale and slightly thickened. This step gives your ice cream that classic custard richness.
3. Temper the Eggs
Slowly pour about ½ cup of the hot cream mixture into the egg yolks while whisking constantly. This prevents scrambling and gently warms the eggs. Then pour the egg mixture back into the saucepan.
4. Cook Until Thickened
Return the saucepan to medium-low heat. Stir constantly with a spatula or whisk until the custard thickens enough to coat the back of a spoon (about 170–175°F). Do not boil.
5. Strain & Add Flavor
Strain the custard through a fine-mesh sieve into a clean bowl. Stir in the vanilla extract and rum (if using).
6. Chill Thoroughly
Cover and refrigerate for at least 4 hours, preferably overnight. Cold base = creamy ice cream.
7. Churn It
Pour the chilled custard into your ice cream maker and churn according to manufacturer instructions (usually 20–25 minutes).
8. Freeze to Set
Transfer to an airtight container and freeze for 2–4 hours until scoopable.
Now the hardest part: waiting.
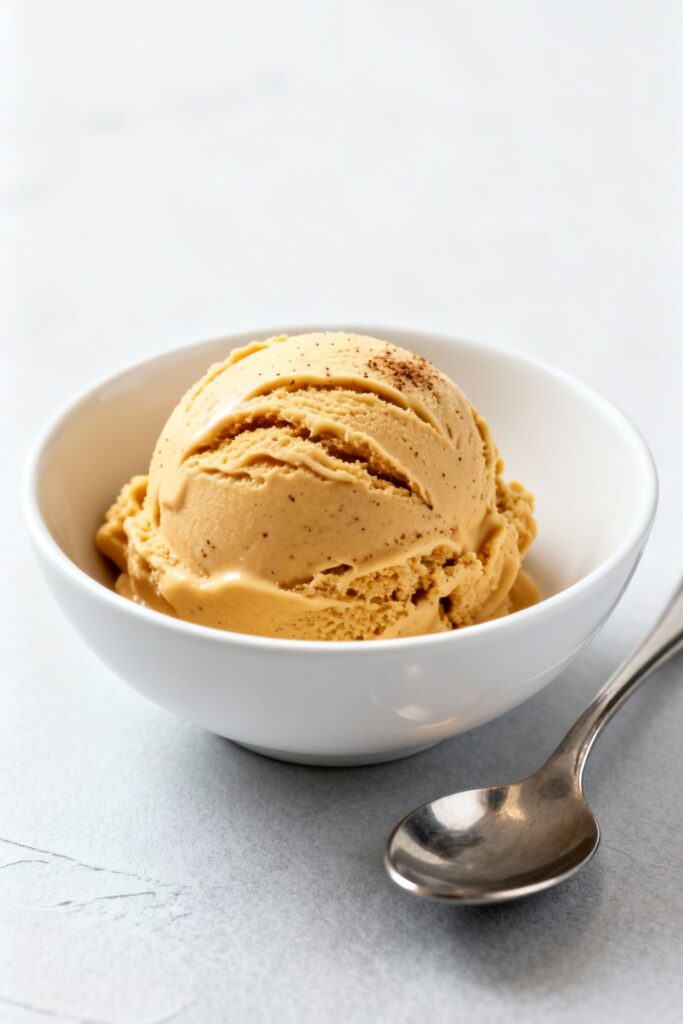
The Best Eggnog Ice Cream
Ingredients
- 2 cups heavy cream
- 1 cup whole milk
- ¾ cup granulated sugar
- 5 large egg yolks
- 1 teaspoon vanilla extract
- 1½ teaspoons ground nutmeg
- ½ teaspoon ground cinnamon
- ¼ teaspoon salt
- 1 –2 tablespoons dark rum or bourbon optional, but traditional and delicious
Instructions
- Heat the Cream Base
- In a medium saucepan over medium heat, combine the heavy cream, milk, half the sugar, nutmeg, cinnamon, and salt. Stir gently and heat until the mixture is steaming but not boiling. You want it hot—not angry.
- Whisk the Egg Yolks
- While that’s warming up, whisk the egg yolks and remaining sugar in a bowl until pale and slightly thickened. This step gives your ice cream that classic custard richness.
- Temper the Eggs
- Slowly pour about ½ cup of the hot cream mixture into the egg yolks while whisking constantly. This prevents scrambling and gently warms the eggs. Then pour the egg mixture back into the saucepan.
- Cook Until Thickened
- Return the saucepan to medium-low heat. Stir constantly with a spatula or whisk until the custard thickens enough to coat the back of a spoon (about 170–175°F). Do not boil.
- Strain & Add Flavor
- Strain the custard through a fine-mesh sieve into a clean bowl. Stir in the vanilla extract and rum (if using).
- Chill Thoroughly
- Cover and refrigerate for at least 4 hours, preferably overnight. Cold base = creamy ice cream.
- Churn It
- Pour the chilled custard into your ice cream maker and churn according to manufacturer instructions (usually 20–25 minutes).
- Freeze to Set
- Transfer to an airtight container and freeze for 2–4 hours until scoopable.
- Now the hardest part: waiting.
Notes
- This ice cream will keep in the freezer for up to 2 weeks when stored properly.
- If it freezes too hard, let it soften at room temperature for 5–10 minutes.
- You can double the batch easily for parties.
- The custard base can be made up to 48 hours ahead before churning.
Tips for Perfect Eggnog Ice Cream
- Use fresh nutmeg if possible. It makes a massive flavor difference.
- Chill longer for better texture. Overnight chilling is gold.
- Don’t skip straining. It guarantees a silky-smooth result.
- Add alcohol sparingly. Too much prevents freezing properly.
- Let it sit 5 minutes before scooping. Makes life easier.
A Few Delicious Serving Suggestions
This ice cream is amazing on its own, but if you want to get fancy:
- Scoop into gingerbread bowls
- Top with warm caramel sauce & crushed pecans
- Serve with holiday cookies
- Add to root beer for a spiced holiday float
- Pair with apple pie or bread pudding
Dietary Notes
- Gluten-Free: Naturally gluten-free
- Vegetarian: Yes
- Alcohol-Free Option: Simply omit the rum or bourbon
- Dairy-Free: Not suitable without substitutions
- Low-Sugar: Can be adjusted using monk fruit or erythritol
Recipe Notes
- This ice cream will keep in the freezer for up to 2 weeks when stored properly.
- If it freezes too hard, let it soften at room temperature for 5–10 minutes.
- You can double the batch easily for parties.
- The custard base can be made up to 48 hours ahead before churning.
Nutrition Information (Per Serving – Approx.)
- Calories: 320
- Fat: 24g
- Carbohydrates: 23g
- Protein: 5g
- Sugar: 20g
- Cholesterol: 155mg
(Values will vary depending on ingredients used.)
Frequently Asked Questions
Can I use store-bought eggnog instead of making the custard base?
Yes! You can substitute 3 cups of full-fat eggnog for the milk, cream, sugar, and spices—just reduce added sugar and eggs. The texture won’t be quite as rich, but it’s a great shortcut.
Do I need an ice cream maker?
Technically no, but it really helps. Without one, you’ll need to freeze the mixture and stir it every 30 minutes for about 3 hours to break up ice crystals.
Is the eggnog ice cream safe to eat with raw eggs?
The eggs are fully cooked in the custard process, so yes—it’s perfectly safe.
Can I make this recipe ahead for a party?
Absolutely! It’s actually better after a full day in the freezer. Just let it soften briefly before serving.
Final Scoop (Friendly Wrap-Up)
Honestly, this eggnog ice cream is one of those recipes that sneaks up on you. You make it once out of curiosity… and suddenly it becomes a holiday tradition. It’s cozy, nostalgic, luxurious without being fussy, and absolutely perfect for Christmas dinners, winter parties, or late-night kitchen raids.
If you love eggnog, this frozen version is basically its glow-up. And if you don’t love eggnog? This recipe might just convert you.
This post contains paid and/or affiliate links. I make a small commission at no extra cost to you. Please see our Privacy Policy.
Printable Recipe Card
Want just the essential recipe details without scrolling through the article? Get our printable recipe card with just the ingredients and instructions.