This post contains paid and/or affiliate links. I make a small commission at no extra cost to you. Please see our Privacy Policy.
Let’s be honest—when it comes to desserts, Oreo cheesecake is basically the Beyoncé of the baking world. It’s rich, creamy, chocolatey, and unapologetically indulgent.
Whether you’re the type who dunks your Oreos in milk until they nearly dissolve or someone who eats them layer by layer like a ritual, we can all agree that turning this iconic cookie into a cheesecake is pure genius.
In this article, we’re going to take a little journey into Oreo cheesecake heaven. We’ll talk about what makes it so irresistible, tips for making it perfect every time, some fun variations to try if you’re feeling experimental, and of course—an easy-to-follow recipe so you can whip one up yourself.
Grab a glass of milk, because things are about to get delicious.
Why Oreo Cheesecake is So Popular
There’s a reason Oreo cheesecake has such a loyal fanbase—it ticks all the boxes of a perfect dessert:
- Texture Party: The crunchy, buttery Oreo crust balances perfectly with the silky smooth filling. Every bite is a contrast that keeps you coming back.
- Familiar Comfort: Oreos are a nostalgic cookie. Mix that childhood memory with the grown-up elegance of cheesecake, and you’ve got a treat that appeals across generations.
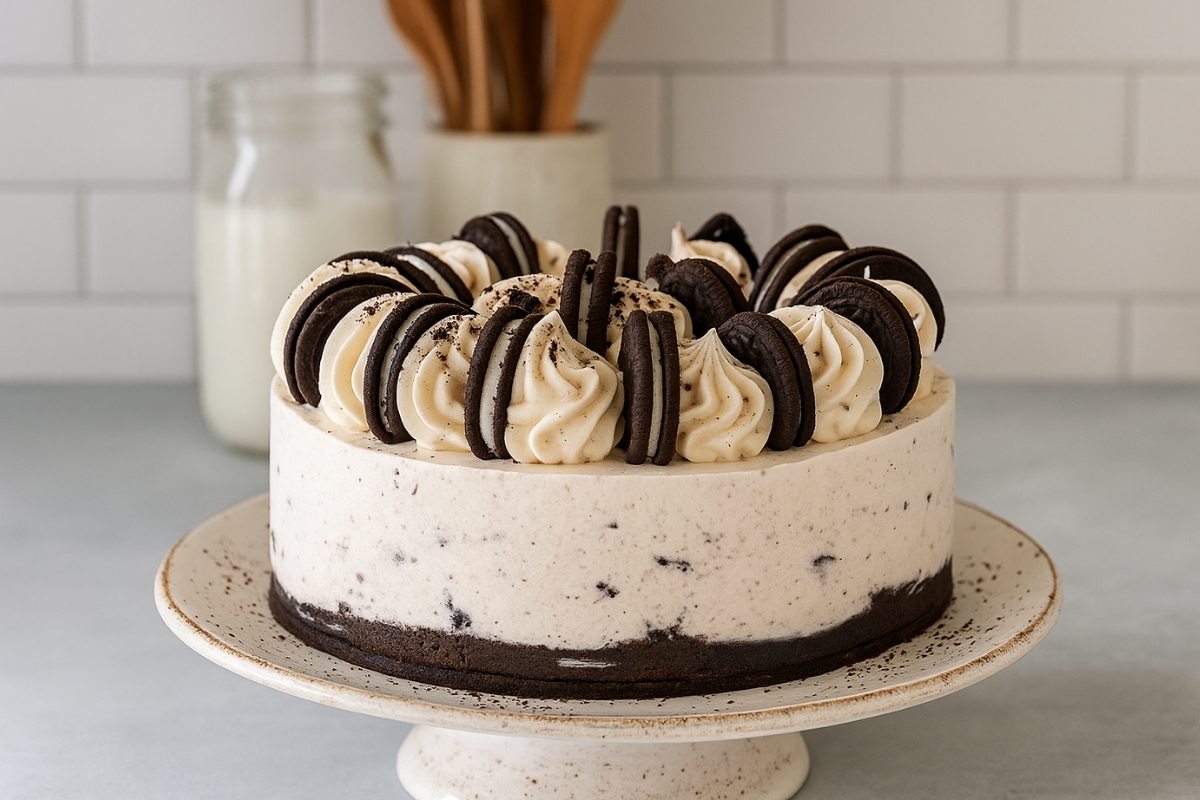
- Instagram-Worthy: Oreo cheesecakes look as good as they taste. Those black-and-white specks peeking through the creamy filling are a food photographer’s dream.
- Crowd-Pleaser: It’s nearly impossible to find someone who doesn’t like Oreos or cheesecake. Put them together? You’ve got dessert diplomacy at its finest.
Ingredients That Make Oreo Cheesecake Shine
A truly great Oreo cheesecake comes down to three main components: the crust, the filling, and the topping.
1. The Oreo Crust
This is the foundation of your cheesecake. Crushed Oreos mixed with melted butter create a crunchy, flavorful base. Pro tip: Don’t scrape out the filling before crushing! That sweet cream actually helps hold the crust together and gives it extra flavor.
2. The Creamy Filling
At the heart of every cheesecake is the filling. For Oreo cheesecake, cream cheese, sugar, and vanilla get whipped together until smooth, and then you fold in crushed Oreos. Some recipes use sour cream for tang or heavy cream for extra richness.
3. The Topping
This is where you can go wild. Some bakers prefer a drizzle of chocolate ganache, others pile on whipped cream and Oreo halves. You could even add crushed Oreos for that “cookies-and-cream overload” vibe.
Tips for the Perfect Oreo Cheesecake
Making cheesecake is an art and a science. Here are some tried-and-true tips to ensure your Oreo cheesecake comes out flawless:
- Use room temperature ingredients. Cold cream cheese is your enemy—it creates lumps in your filling.
- Don’t overmix. Beating the batter too much adds excess air, which can lead to cracks during baking.
- Water bath = crack-free cheesecake. Wrapping your springform pan in foil and placing it in a roasting pan with hot water helps the cheesecake bake evenly and prevents dreaded cracks.
- Chill it thoroughly. Cheesecake tastes better after at least 4–6 hours in the fridge. Overnight is even better. Trust me, patience pays off.
- Slice with a hot knife. Dip your knife in hot water, wipe it clean, and then cut for those neat bakery-style slices.
Fun Variations to Try
Once you’ve mastered the classic Oreo cheesecake, the sky’s the limit. Here are some variations to keep things exciting:
- Mint Oreo Cheesecake: Use mint Oreos for a refreshing twist.
- Peanut Butter Oreo Cheesecake: Swirl peanut butter into the filling and use peanut butter Oreos for the crust.
- No-Bake Oreo Cheesecake: Perfect for summer when you don’t want to turn on the oven. The filling sets in the fridge thanks to whipped cream or gelatin.
- Oreo Cheesecake Bars: Instead of making a whole cake, spread the filling in a square pan and cut into bars. Easier for parties and potlucks.
- Mini Oreo Cheesecakes: Bake individual portions in muffin tins lined with cupcake wrappers. Bonus: they’re adorable.
Oreo Cheesecake Recipe (Step-by-Step Directions)
Alright, enough talking—let’s get baking. Here’s a classic Oreo cheesecake recipe you can follow at home.
Ingredients:
For the crust:
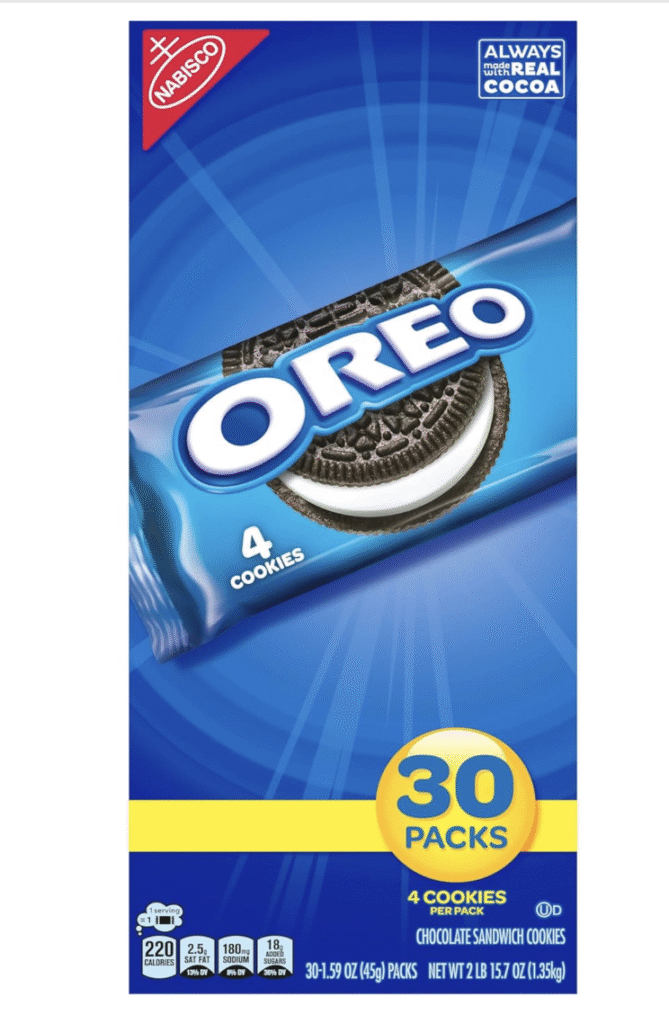
- 24 Oreo cookies (about 2 cups crushed)
- 6 tablespoons unsalted butter, melted
For the filling:
- 3 (8-ounce) packages cream cheese, softened
- 1 cup granulated sugar
- 1 teaspoon vanilla extract
- 1 cup sour cream (room temperature)
- 3 large eggs (room temperature)
- 15 Oreo cookies, coarsely chopped
For the topping (optional):
- Whipped cream
- Chocolate ganache (melted chocolate + cream)
- Extra Oreos for garnish
Directions:
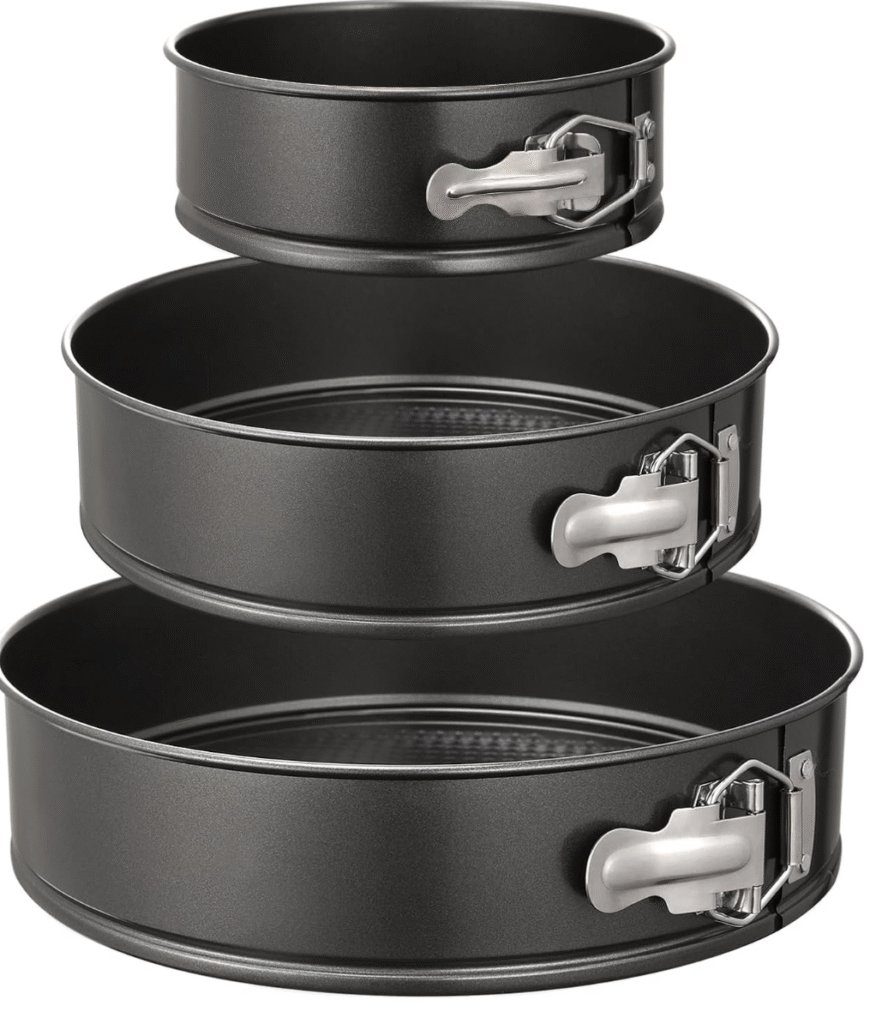
- Preheat the oven: Set it to 325°F (160°C). Grease a 9-inch springform pan and line the bottom with parchment paper.
- Make the crust: Crush the Oreos in a food processor until fine crumbs form. Mix with melted butter until the texture resembles wet sand. Press the mixture firmly into the bottom of your pan. Bake for 10 minutes, then set aside to cool.
- Prepare the filling: In a large mixing bowl, beat the cream cheese until smooth and creamy. Add sugar and vanilla extract, mixing until combined. Blend in the sour cream.
- Add the eggs: Beat in the eggs one at a time, mixing just until incorporated. Do not overbeat. Fold in the chopped Oreos with a spatula.
- Bake the cheesecake: Pour the filling onto the cooled crust. Smooth the top with a spatula. Place the springform pan in a larger roasting pan and pour hot water around it (about halfway up the sides of the springform pan). Bake for 55–65 minutes, until the center is set but still slightly jiggly.
- Cool gradually: Turn off the oven and crack the door slightly. Let the cheesecake rest inside for 1 hour. Then transfer it to the fridge to chill for at least 6 hours or overnight.
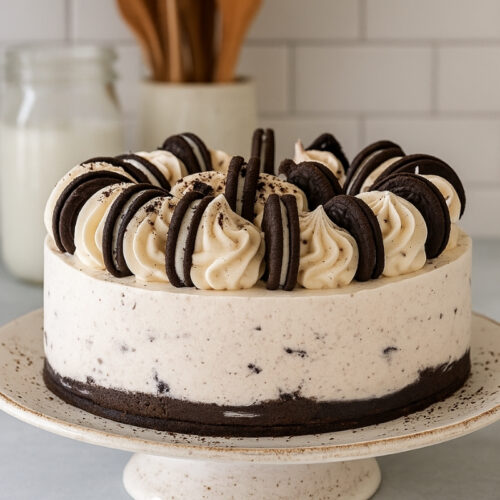
- Add the topping: Once fully chilled, remove the cheesecake from the pan. Pipe whipped cream around the edges, drizzle with ganache, and decorate with Oreo halves.
- Slice and serve: Use a hot knife for clean slices. Enjoy your masterpiece!
Oreo Cheesecake
Ingredients
For the crust:
- 24 Oreo cookies about 2 cups crushed
- 6 tablespoons unsalted butter melted
For the filling:
- 3 8-ounce packages cream cheese, softened
- 1 cup granulated sugar
- 1 teaspoon vanilla extract
- 1 cup sour cream room temperature
- 3 large eggs room temperature
- 15 Oreo cookies coarsely chopped
For the topping (optional):
- Whipped cream
- Chocolate ganache melted chocolate + cream
- Extra Oreos for garnish
Instructions
- Preheat the oven: Set it to 325°F (160°C). Grease a 9-inch springform pan and line the bottom with parchment paper.
- Make the crust: Crush the Oreos in a food processor until fine crumbs form. Mix with melted butter until the texture resembles wet sand. Press the mixture firmly into the bottom of your pan. Bake for 10 minutes, then set aside to cool.
- Prepare the filling: In a large mixing bowl, beat the cream cheese until smooth and creamy. Add sugar and vanilla extract, mixing until combined. Blend in the sour cream.
- Add the eggs: Beat in the eggs one at a time, mixing just until incorporated. Do not overbeat. Fold in the chopped Oreos with a spatula.
- Bake the cheesecake: Pour the filling onto the cooled crust. Smooth the top with a spatula. Place the springform pan in a larger roasting pan and pour hot water around it (about halfway up the sides of the springform pan). Bake for 55–65 minutes, until the center is set but still slightly jiggly.
- Cool gradually: Turn off the oven and crack the door slightly. Let the cheesecake rest inside for 1 hour. Then transfer it to the fridge to chill for at least 6 hours or overnight.
- Add the topping: Once fully chilled, remove the cheesecake from the pan. Pipe whipped cream around the edges, drizzle with ganache, and decorate with Oreo halves.
- Slice and serve: Use a hot knife for clean slices. Enjoy your masterpiece!
Notes
Cook Time: 60 minutes
Chill Time: 6 hours (or overnight)
Total Time: ~7 hours 20 minutes Calories (per slice, 1/12 of cheesecake): ~520 kcal
Storing and Freezing Oreo Cheesecake
If you’re lucky enough to have leftovers (though I wouldn’t count on it), here’s how to store them:
- Fridge: Cover the cheesecake with plastic wrap or store in an airtight container. It will keep for up to 5 days.
- Freezer: Wrap slices individually in plastic wrap, then foil, and freeze for up to 2 months. Thaw overnight in the fridge before eating.
FAQs About Oreo Cheesecake
1. Can I use reduced-fat cream cheese?
You can, but the texture won’t be as rich and creamy. Go full-fat for best results.
2. Can I skip the water bath?
Yes, but your cheesecake may crack. If you don’t want the hassle, just cover cracks with whipped cream—no one will complain.
3. Can I make this recipe ahead of time?
Absolutely! Cheesecake actually tastes better the next day once it’s had time to chill and set.
4. Can I make it gluten-free?
Yes—just use gluten-free Oreos (they exist, and they taste nearly identical).
Oreo Cheesecake: A Dessert Worth Sharing
At the end of the day, Oreo cheesecake is more than just dessert—it’s a little slice of joy. It’s what you bring to birthdays, holidays, or just a random Tuesday when life calls for something sweet. It’s creamy, crunchy, nostalgic, and modern all at once.
The best part? Once you nail the base recipe, you can experiment endlessly. Play with flavors, toppings, or even presentation styles. Oreo cheesecake doesn’t judge—it just wants to be loved.
So, next time you’re craving something decadent, don’t settle for plain cheesecake. Grab that pack of Oreos sitting in your pantry and turn them into a showstopping dessert. Trust me, your taste buds (and your friends) will thank you.
Final Word: Whether you’re a seasoned baker or just dipping your toes into the world of homemade desserts, Oreo cheesecake is the perfect project. It’s forgiving, impressive, and oh-so-delicious. So preheat that oven and let’s turn those humble cookies into the star of the dessert table.
This post contains paid and/or affiliate links. I make a small commission at no extra cost to you. Please see our Privacy Policy.
Printable Recipe Card
Want just the essential recipe details without scrolling through the article? Get our printable recipe card with just the ingredients and instructions.