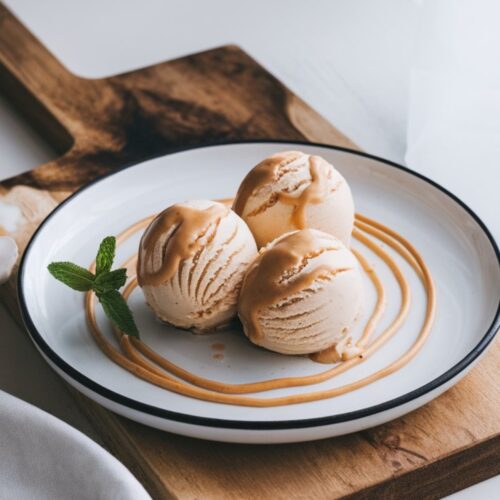
Peanut Butter Ice Cream
If you’ve ever stood in front of your freezer late at night, spoon in hand, craving something sweet, you know the magic of ice cream. Now imagine that ice cream is peanut butter flavored—rich, nutty, creamy, and with just the right amount of salty-sweet balance. That, my friend, is exactly what we’re making today: homemade peanut butter ice cream.
Ingredients
- 1 cup creamy peanut butter choose a smooth one for best texture; natural is fine, but stir it well
- 3/4 cup granulated sugar
- 2 cups heavy cream
- 1 cup whole milk
- 1 teaspoon vanilla extract
- Pinch of salt optional, but it enhances the flavor
Optional Mix-ins:
- Chocolate chips or chunks
- Swirls of fudge or caramel
- Crushed cookies or graham crackers
- Chopped peanuts for crunch
Instructions
Directions: How to Make Peanut Butter Ice Cream
- Alright, here’s the fun part. Follow along, and before you know it, you’ll be digging into your very own homemade pint.
Step 1: Warm Up the Base
- In a medium saucepan, combine the milk, sugar, and peanut butter. Heat over medium-low, whisking gently until the sugar dissolves and the peanut butter melts smoothly into the milk. This step not only blends everything together but also creates that creamy foundation we’re after. Don’t let it boil—gentle heat is the goal.
Step 2: Add the Cream and Vanilla
- Once your mixture looks silky, remove it from the heat. Stir in the heavy cream, vanilla extract, and a pinch of salt. The cream balances out the richness of the peanut butter, and the vanilla gives it that ice-cream-shop depth of flavor.
Step 3: Chill the Mixture
- Here’s the hardest part: waiting. Transfer your peanut butter ice cream base into a bowl, cover it, and pop it into the fridge for at least 2 hours, or overnight if you can. The colder it is, the better it’ll churn. This step also gives the flavors time to mingle and deepen.
Step 4: Churn It Up
- Pour the chilled mixture into your ice cream maker and churn according to the manufacturer’s instructions. Usually, this takes about 20–25 minutes. You’ll notice it thickening and transforming into soft-serve–like ice cream.
- No Ice Cream Maker? No problem. Pour your chilled mixture into a freezer-safe container, and every 30 minutes, stir vigorously with a fork or hand mixer. Do this for about 2–3 hours until it reaches a scoopable texture. It takes a little more elbow grease, but the results are worth it.
Step 5: Add Mix-ins (Optional but Highly Recommended)
- If you’re going for classic peanut butter ice cream, you’re good to go. But if you want to jazz things up, now’s the time to fold in chocolate chunks, cookie bits, or a swirl of caramel. Be gentle so you don’t over-mix.
Step 6: Freeze Until Firm
- Transfer your ice cream into an airtight container and freeze for at least 4 hours (overnight is even better). This step ensures it sets properly and gets that perfect scoopable consistency.
Step 7: Scoop and Enjoy
- Grab your favorite bowl (or cone, or mug, no judgment here) and dig in! Top it with hot fudge, a sprinkle of crushed peanuts, or just enjoy it as-is.
